
All Sports
Archery Secret Targets — All 12 Hidden Items in Switch Sports Resort
All 12 Archery secret targets with a landmark aiming trick for each: apples, burgers, pudding, melons, pinatas and a toaster, course by course with wind notes.
FAQ
What do you get for hitting the secret targets in Archery?
How many secret targets are in Archery?
Does wind affect the secret targets?
What is the hardest secret target?
Do the secret targets need special controllers?
What are the secret targets in Archery?
There are 12 of them: food items and a few objects tucked into the scenery of all four courses, and each arrow that lands on one pops a +10 bonus. Japanese creator やまむー hunted down every one the week the game launched — apples, burgers, pudding and melons, plus two pinatas and, inevitably, a toaster. They are easy to miss at full speed because most sit far off the ballistics of the normal target, so the whole game is memorizing one landmark per target.
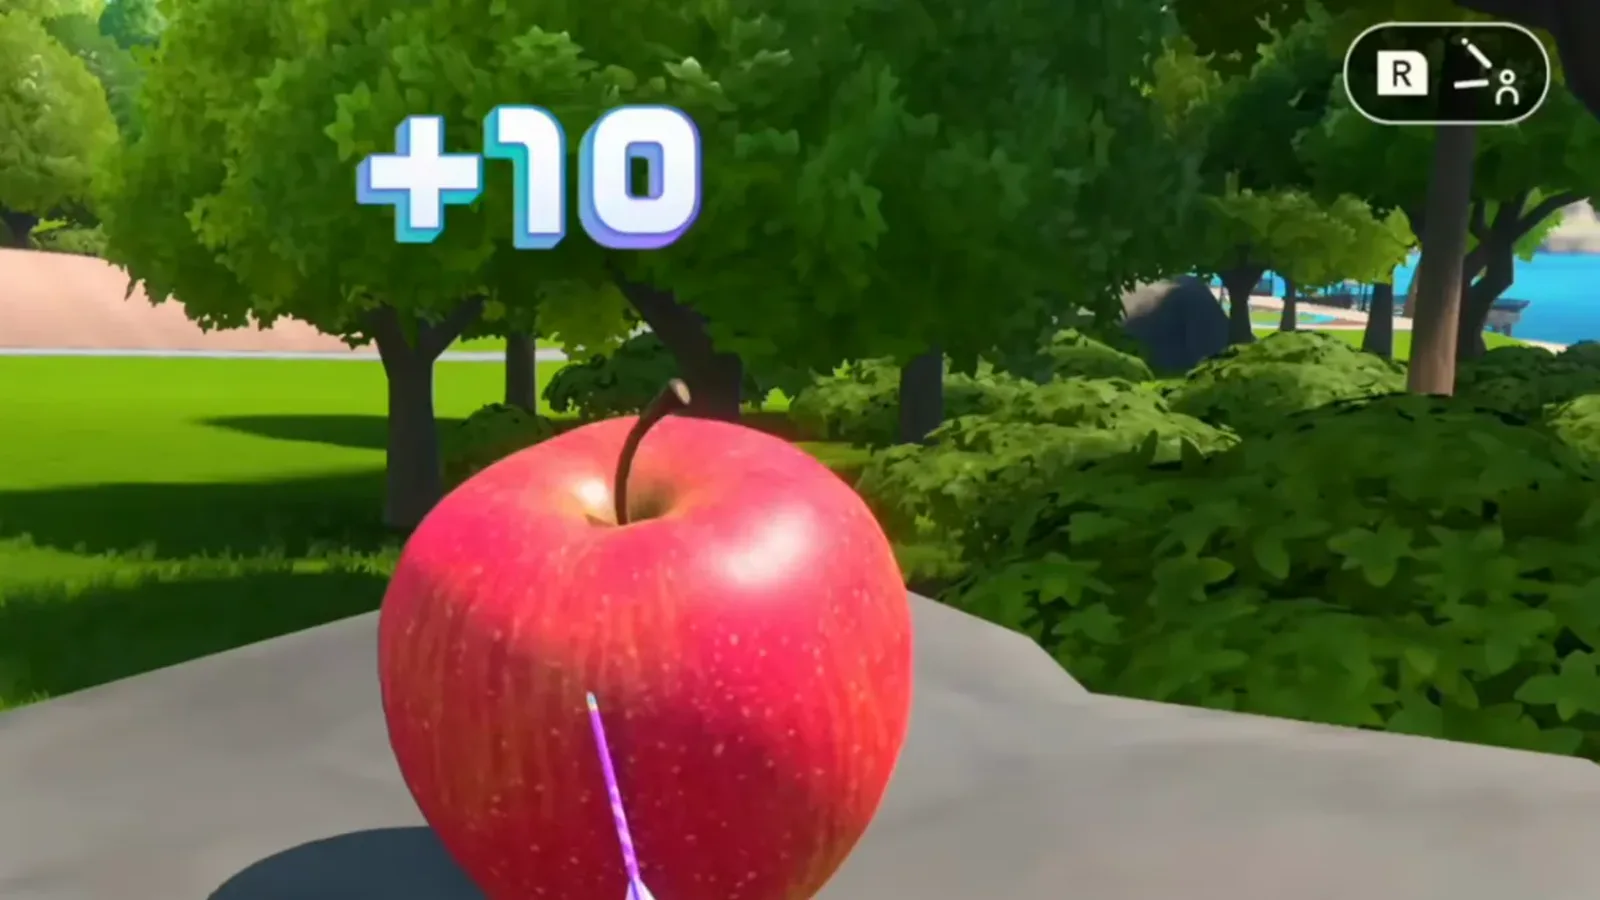
The Stage 1 apple takes an arrow and pops its +10 bonus in the hit replay — watch at 0:18.
Here is the full set, in course order:
| # | Course | Target | Landmark | Wind |
|---|---|---|---|---|
| 1 | Stage 1 | Apple | Gap between two mountain peaks | None |
| 2 | Stage 1 | Piñata | Edge of the utility pole | None |
| 3 | Stage 1 | Burger | Red brick triangular gable | None |
| 4 | Stage 1 | Pudding | Straight up above the clouds | None |
| 5 | Stage 2 | Apple | Between the two windmills, lifted slightly | 1–3 m/s |
| 6 | Stage 2 | Melon | Gap between two rock corners, ~2/3 up | ~2 m/s |
| 7 | Stage 3 | Burger | Stadium roof edge | 2 m/s |
| 8 | Stage 3 | Melon | Angular rock corner, then drop lower | Up to 4 m/s |
| 9 | Stage 3 | Burger | Two palm trees centered, shift down-right | ~4 m/s |
| 10 | Stage 4 | Pudding | Third tree, then the 3rd sky color band | 5 m/s |
| 11 | Stage 4 | Piñata | Aim circle’s bottom line on the cave ceiling curve | Fixed 5 m/s |
| 12 | Stage 4 | Toaster | Bottom line resting on the toaster | 5 m/s upward |
How do you aim at hidden targets?
Pick one fixed piece of scenery, park the aim circle at a fixed spot relative to it, and only then adjust for wind — that is the entire method. Every trick below is a variation of it, and it works because the aiming circle is translucent: you can hold it over a mountain peak, a roof edge or a cloud line and still see both.
Archery uses the standard two-hand setup — one Joy-Con as the bow, the other to draw the string. If that layout is new to you, start with the main Archery guide and the controls overview before farming bonuses.
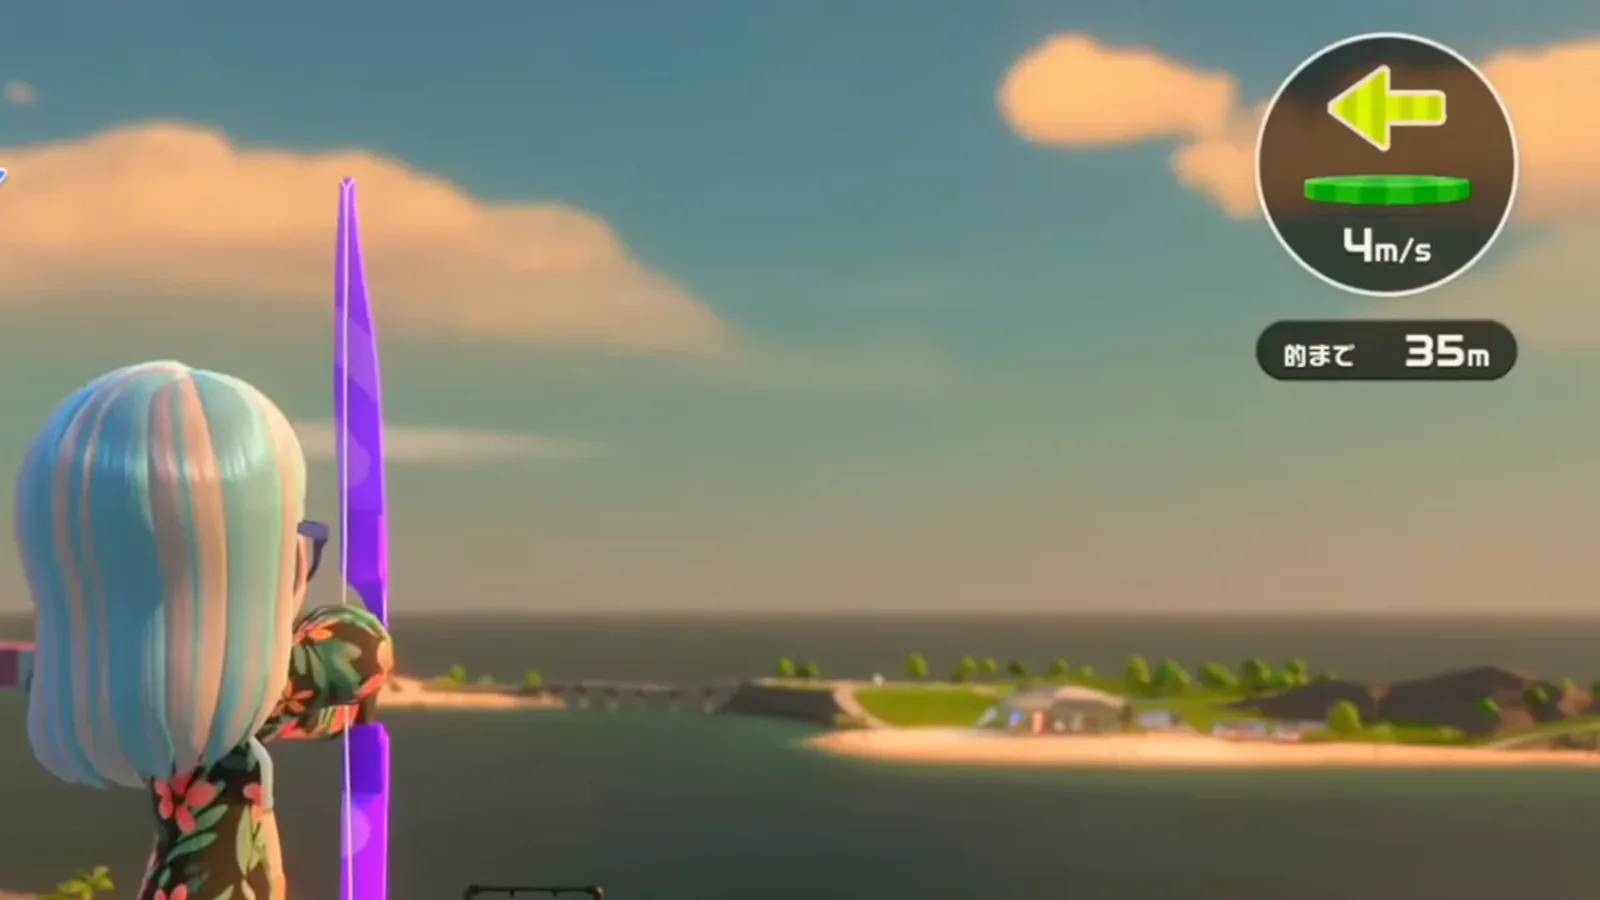
One Joy-Con is the bow, the other pulls the string — the drawn stance at the 35 m beach stage — watch at 9:18.
Wind is the other half. The top-right gauge gives a direction arrow and a speed in m/s; Stage 1 is calm, and by Stage 4 a fixed 5 m/s blows through every shot. The footage below notes the gauge reading for each target so you know what to expect.
Stage 1 targets: apple, piñata, burger and pudding
Stage 1 has no wind at all, so all four targets are pure landmark memorization. This is the course to clear first.
1. Apple — between the mountain peaks
Aim at the gap between the two mountain peaks, then nudge a little left of the boundary. The video parks the circle on the peak line and slides it left until the apple (red-circled below) sits at the circle’s edge.
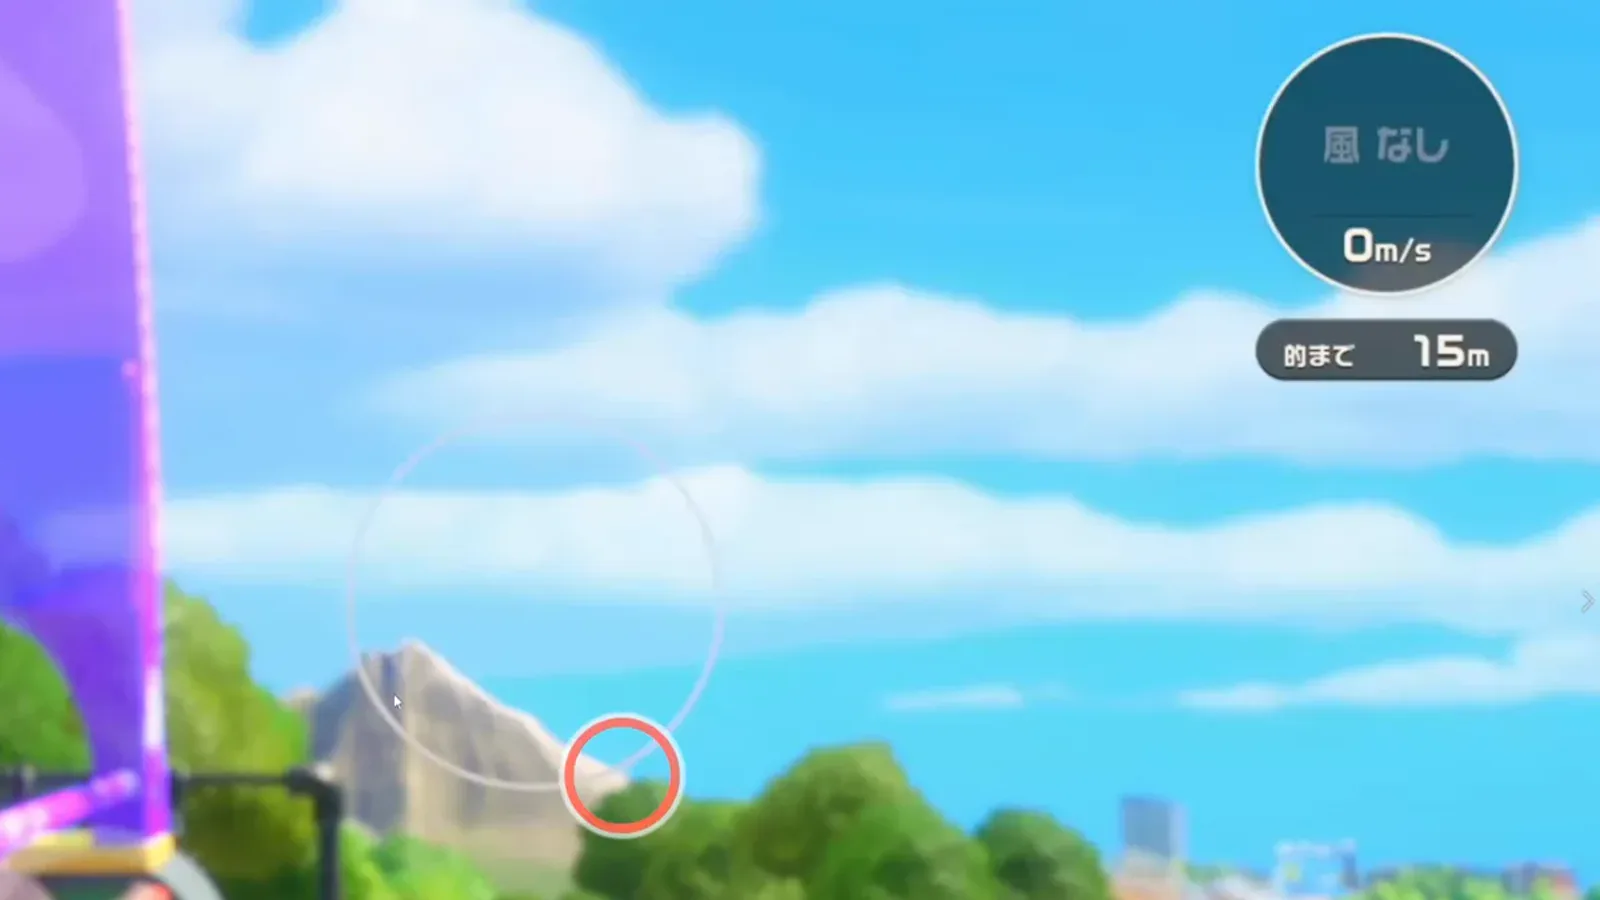
Circle on the peak, red mark on the apple spot — watch at 0:45.
2. Piñata — at the utility pole
Put the edge of the utility pole at your aim point. There is almost nothing else near it, which is exactly why the pole works: the piñata hangs essentially at the pole’s silhouette.
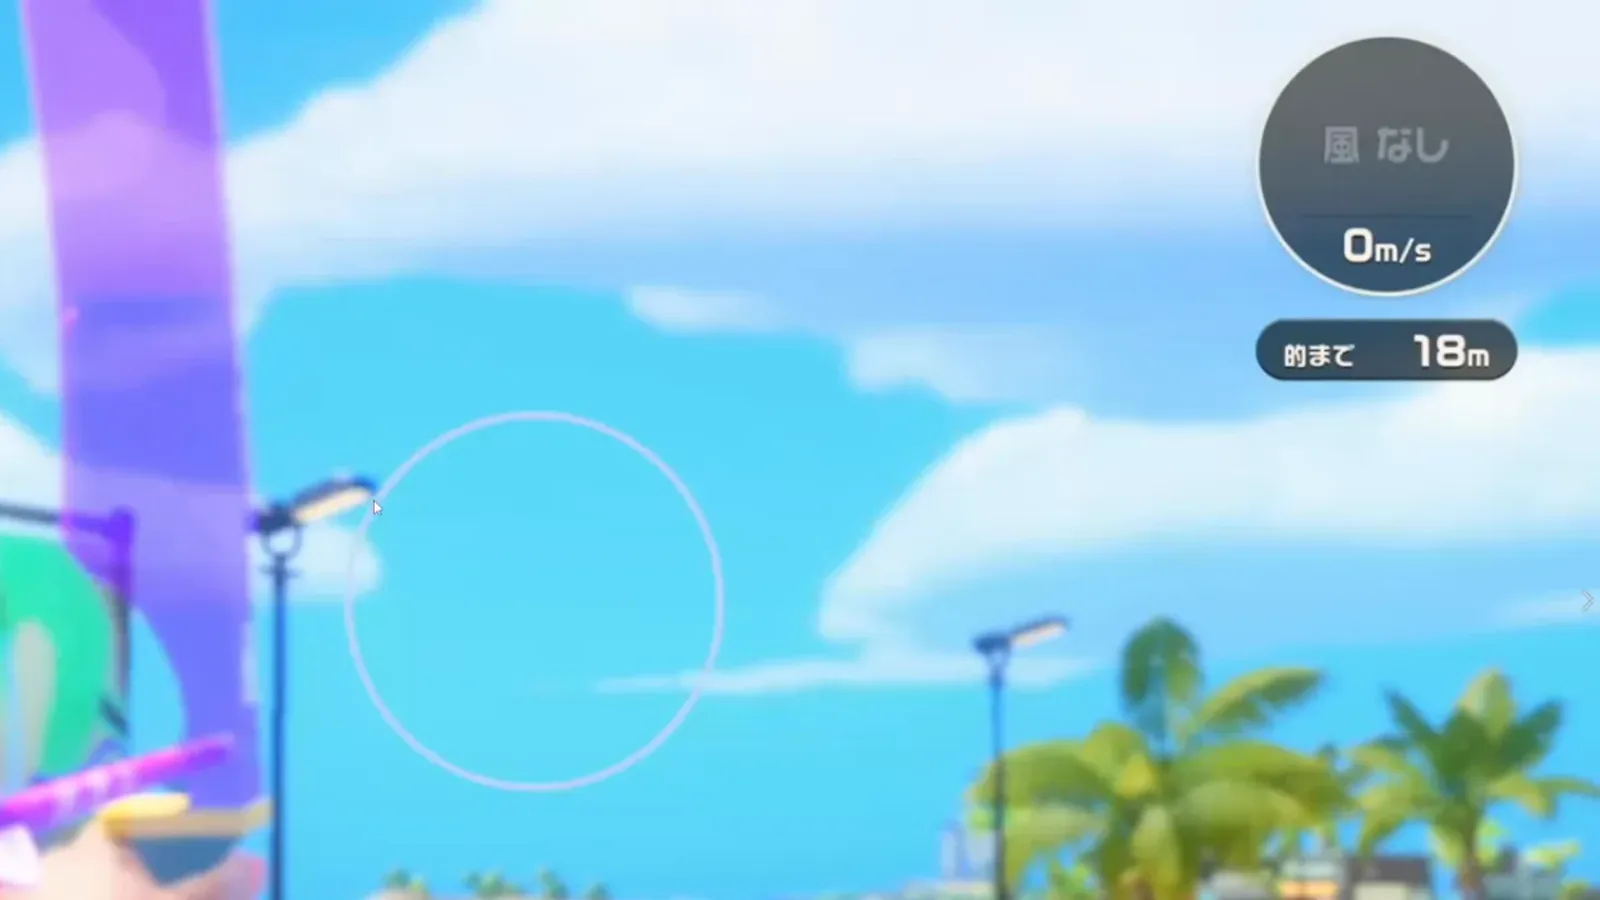
Landmark: the pole’s edge at 18 m, zero wind — watch at 2:00.
3. Burger — over the red brick gable
Center the triangular gable of the red brick building, and keep the bottom line of the circle roughly halfway between the brick’s top and the top of the cloud bank. The creator marks the spot with a red circle in the frame below.
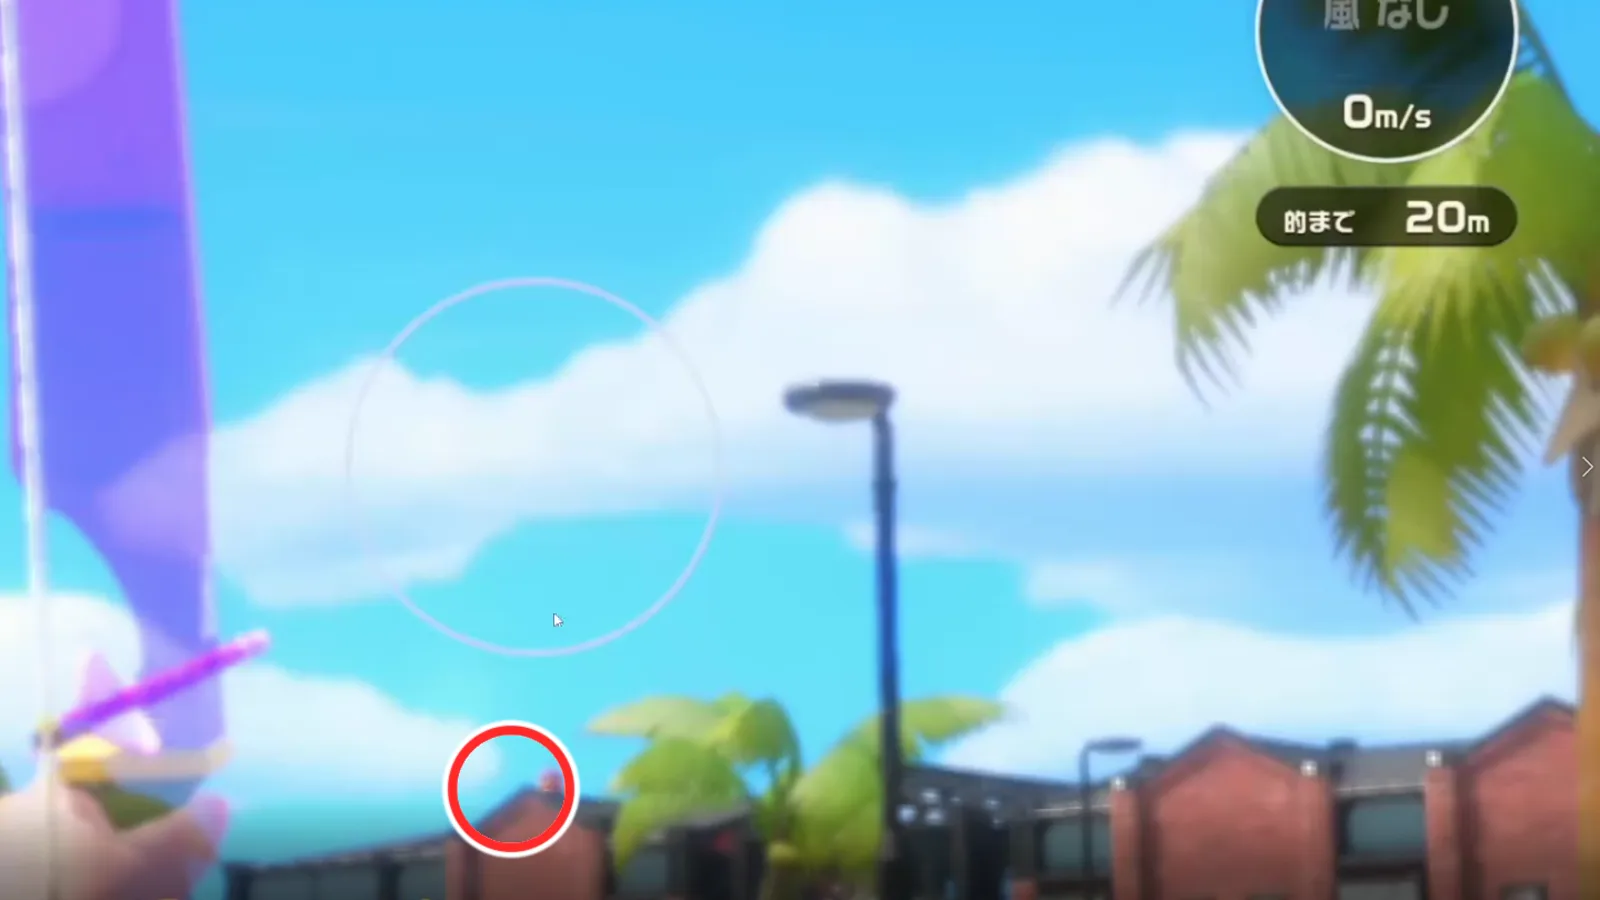
Red mark on the brick gable, 20 m, no wind — watch at 3:16.
4. Pudding — straight up above the clouds
Send it straight up over the cloud line and it lands — the video calls this the easiest of the twelve. With no wind there is nothing to compensate; the clouds are the reference.
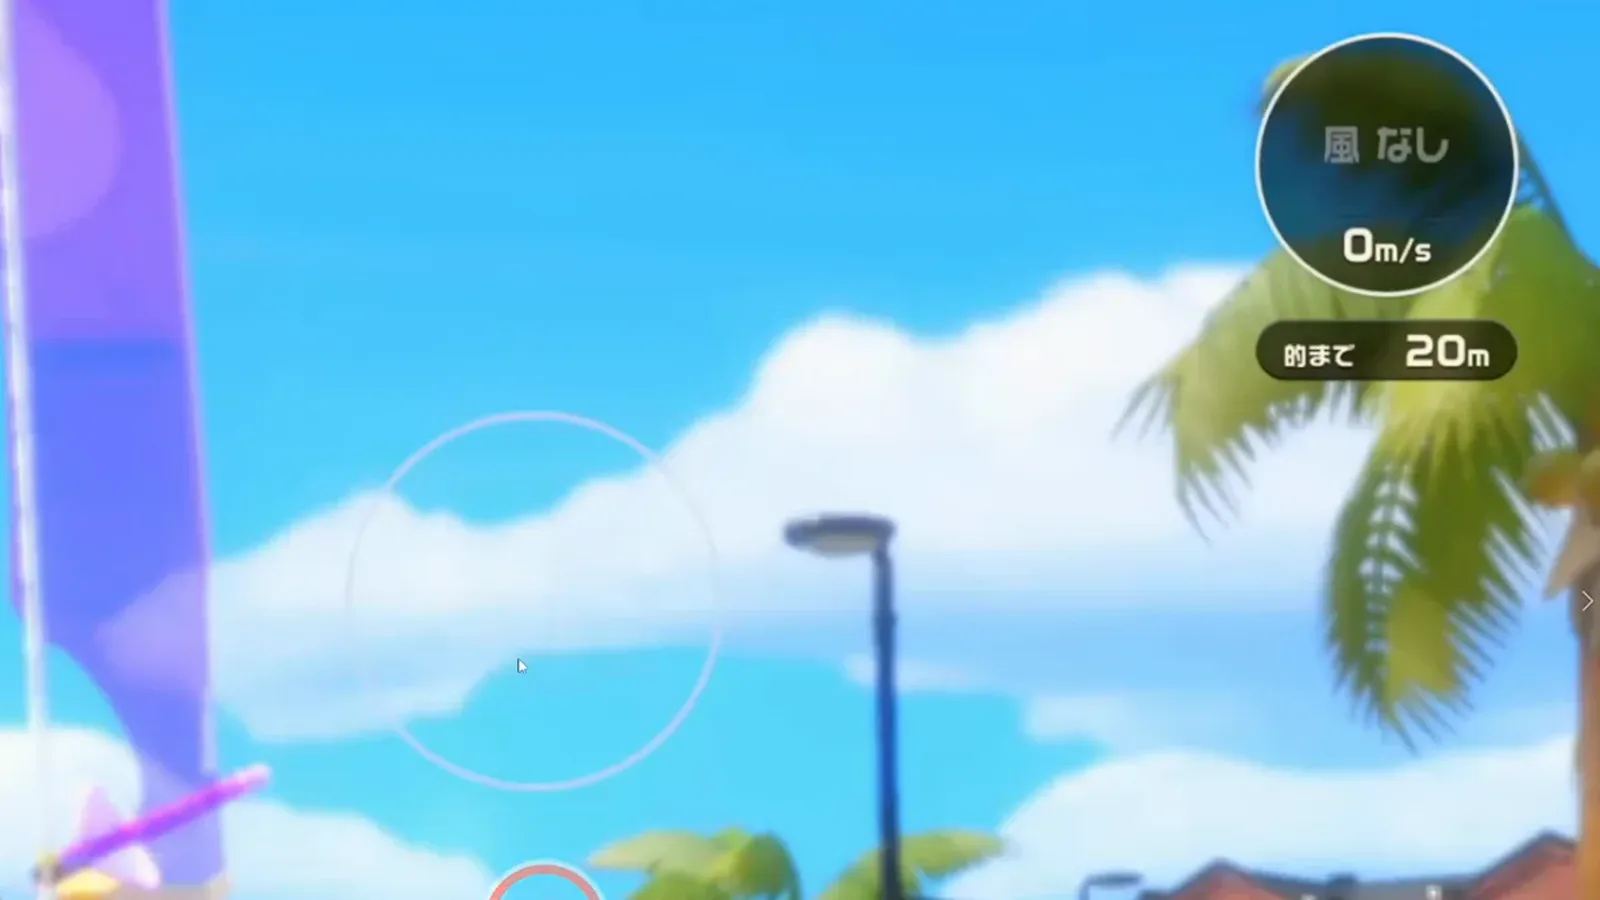
Above the clouds and done — watch at 3:24.
Stage 2 targets: apple and melon
Stage 2 introduces a light breeze — around 1–3 m/s on the gauge. From here on, read the arrow, then commit.
5. Apple — between the two windmills
Set the circle between the two white windmills as if it were resting there, then lift it slightly. The creator prefers a leftward wind for this one because the landmark is easier to hold in view; at the 3 m/s shown below he still trusts the same spot.
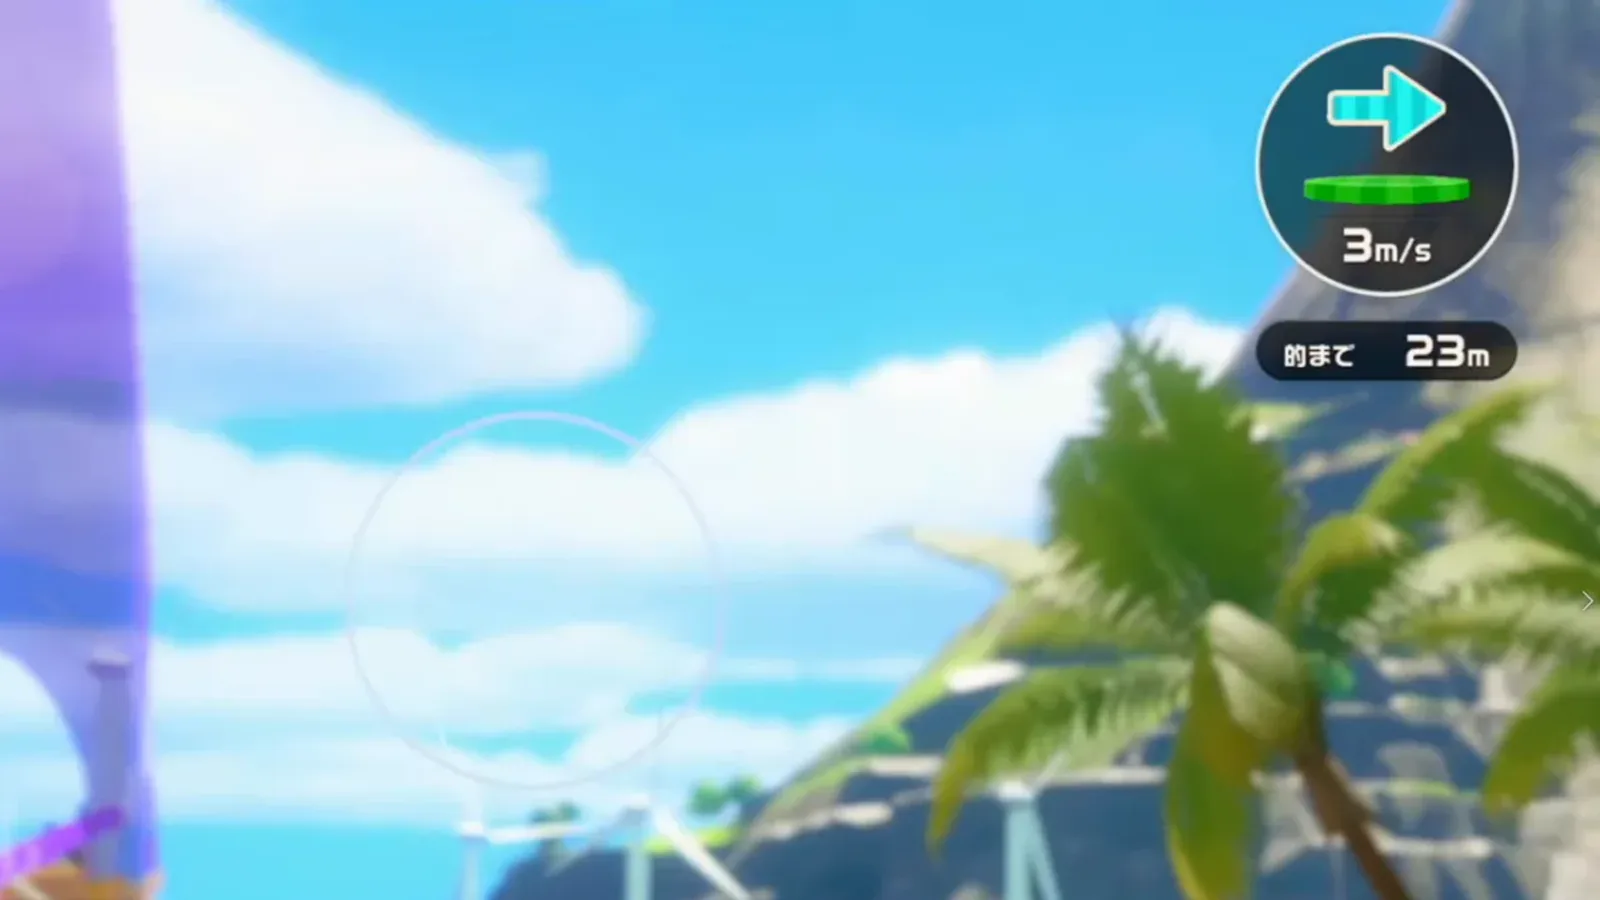
Circles set between the windmills, raised a touch — watch at 5:10.
6. Melon — the gap between two rock corners
The melon sits against a rock face with two corners; aim into the gap between them, about 60–70 percent of the way up the face. Going above the upper corner overshoots — slightly below the halfway point is the safe zone.
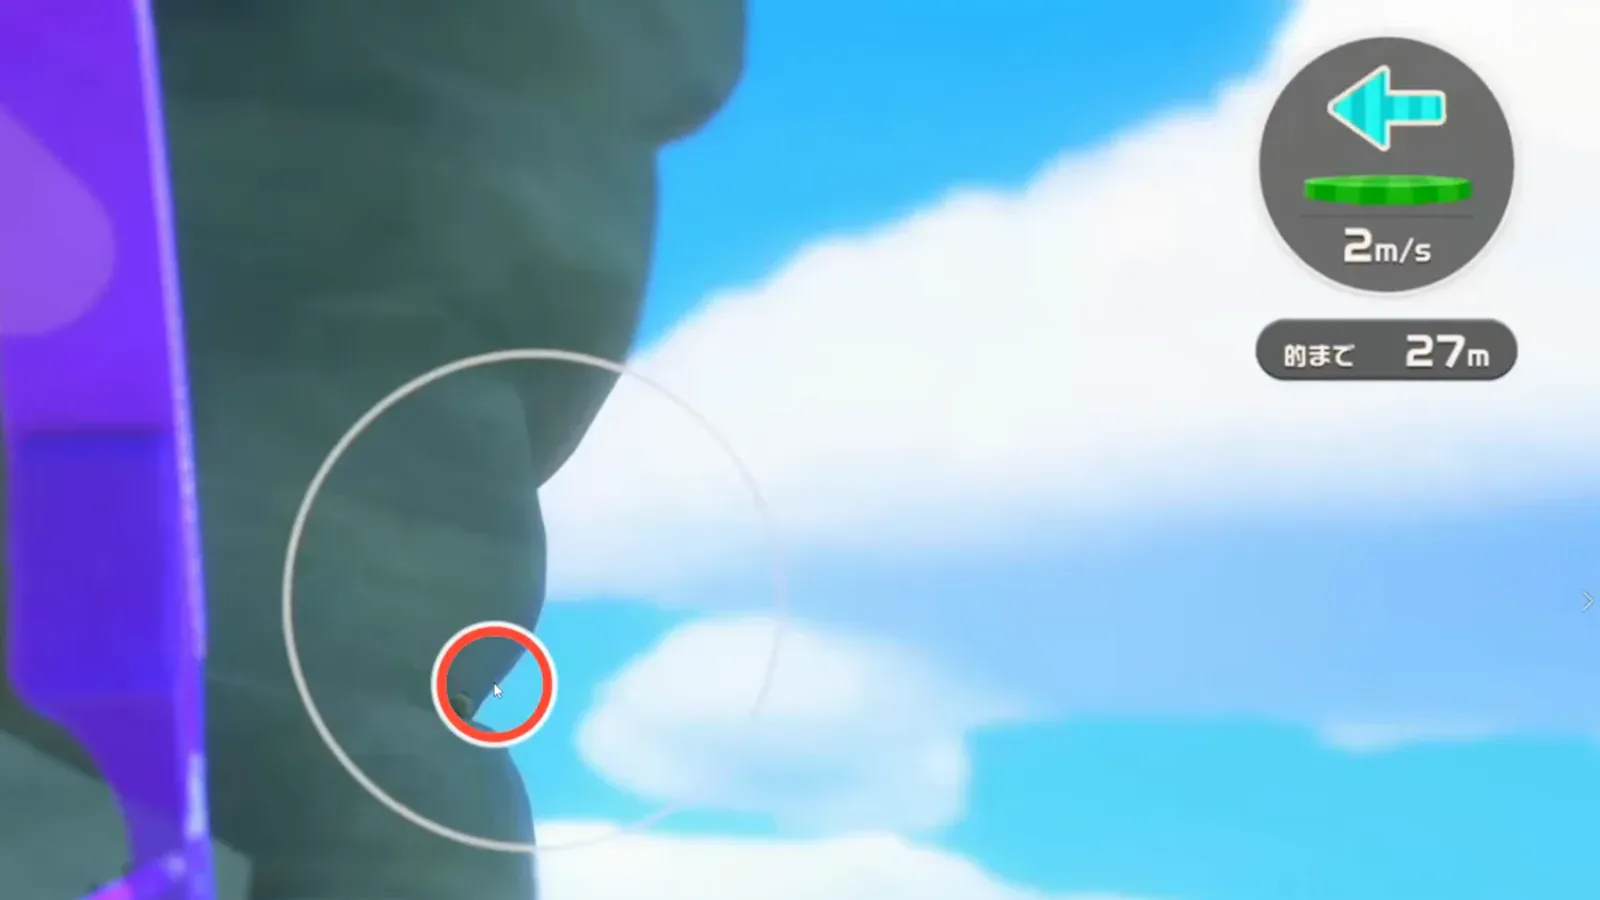
Red mark in the corner gap at 27 m — watch at 6:15.
Stage 3 targets: two burgers and a melon
Stage 3 runs at sunset with a steadier breeze — around 2–4 m/s depending on the shot.
7. Burger — level with the stadium roof edge
Line the aim circle up with the edge of the stadium roof and the burger is hittable. The stadium is the big curved stand right of the shooting line; the burger itself sits off to the left of that line.
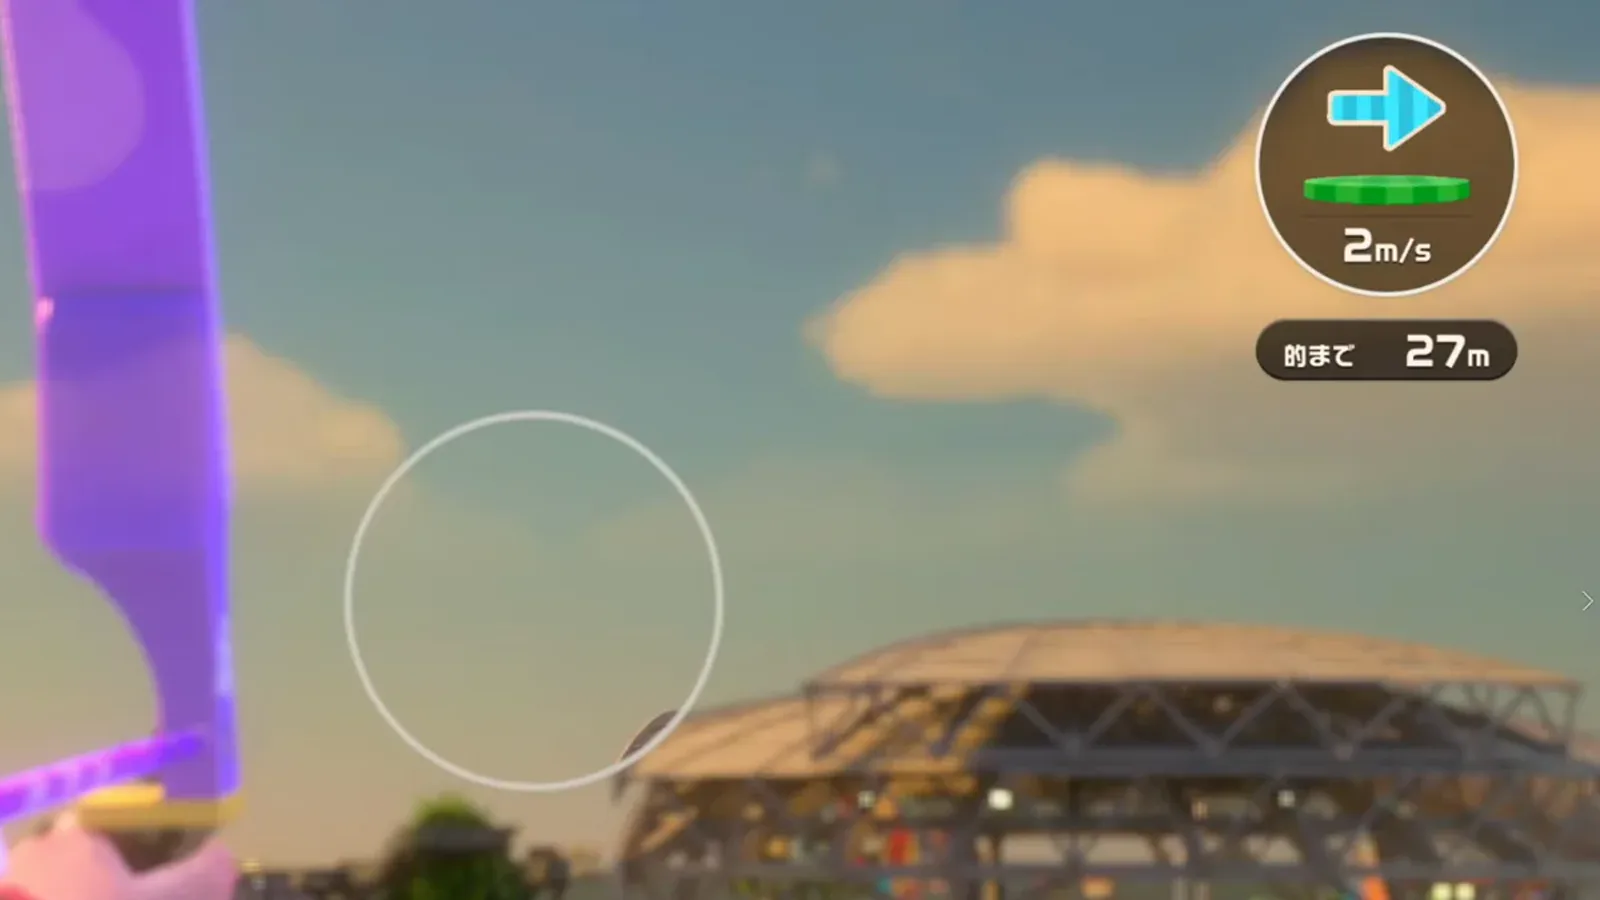
Roof edge as the ruler, 27 m, 2 m/s — watch at 7:30.
8. Melon — start on the corner, then drop
Place the circle on the angular corner of the rock, then bring it down a little before firing. The creator admits there is no crisp standard here — it is the most “feel” of the twelve — but corner-first, then lower, repeats well.
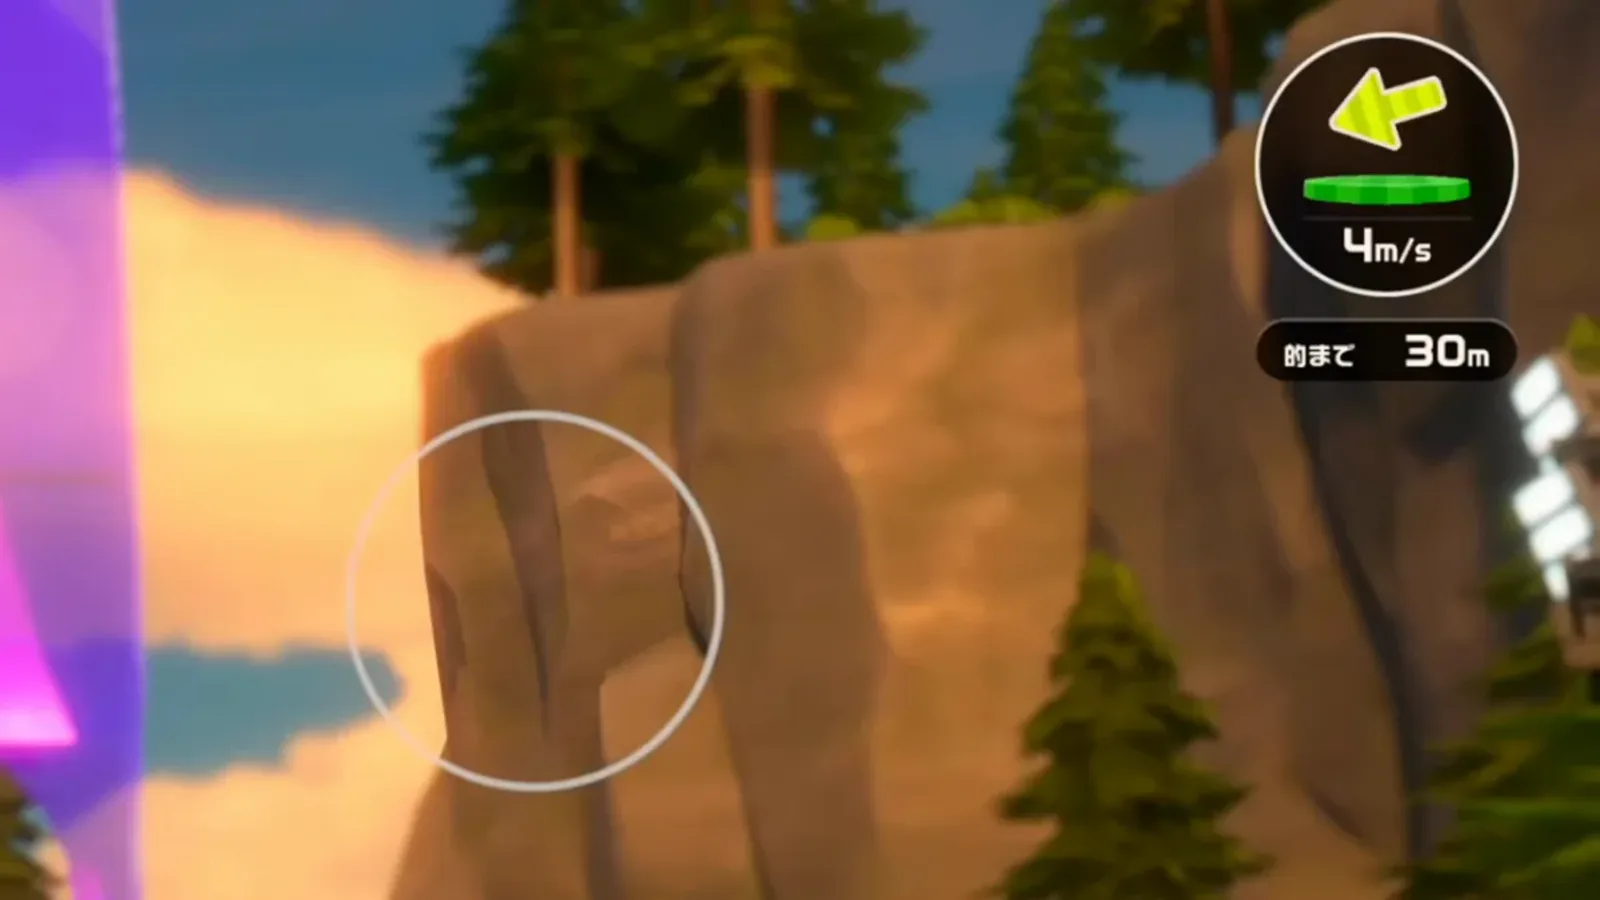
Corner first, then drop slightly, 30 m — watch at 8:15.
9. Burger — the two palm trees on the far island
Center the two palm trees on the island across the water, then shift slightly down and to the right — that recipe is for a rightward wind. With the wind blowing left, as in the frame below, it gets finicky; the video still recommends simply waiting for a right wind and repeating the same hold.
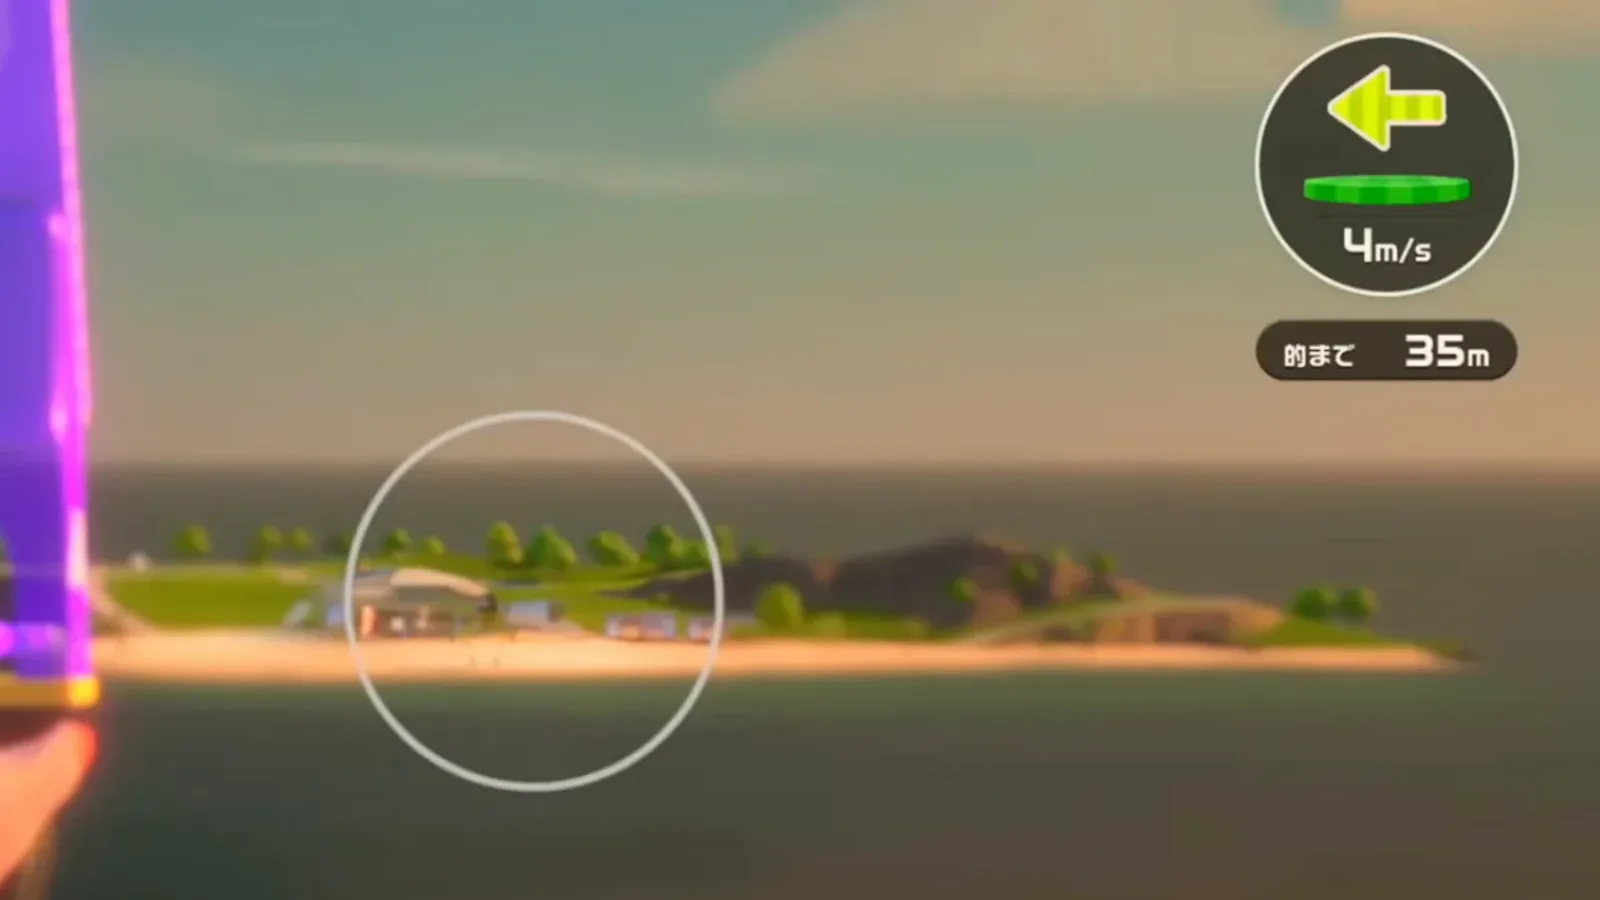
Palms centered, 35 m, 4 m/s from the left — watch at 9:22.
Stage 4 targets: pudding, piñata and toaster
The night course is where the wind locks in at a steady 5 m/s and distances stretch to 35–45 m.
10. Pudding — the third tree and the third sky band
Zoomed all the way out, center the aim circle on the third tree, then raise the circle upward until it reaches the third color band of the sky. The night sky in this course brightens in gradual steps, and the third step is the pudding’s line — if your screen only clearly shows two bands, aim just above the second one. The hold below is calibrated for the 5 m/s wind from the right; other winds shift it.
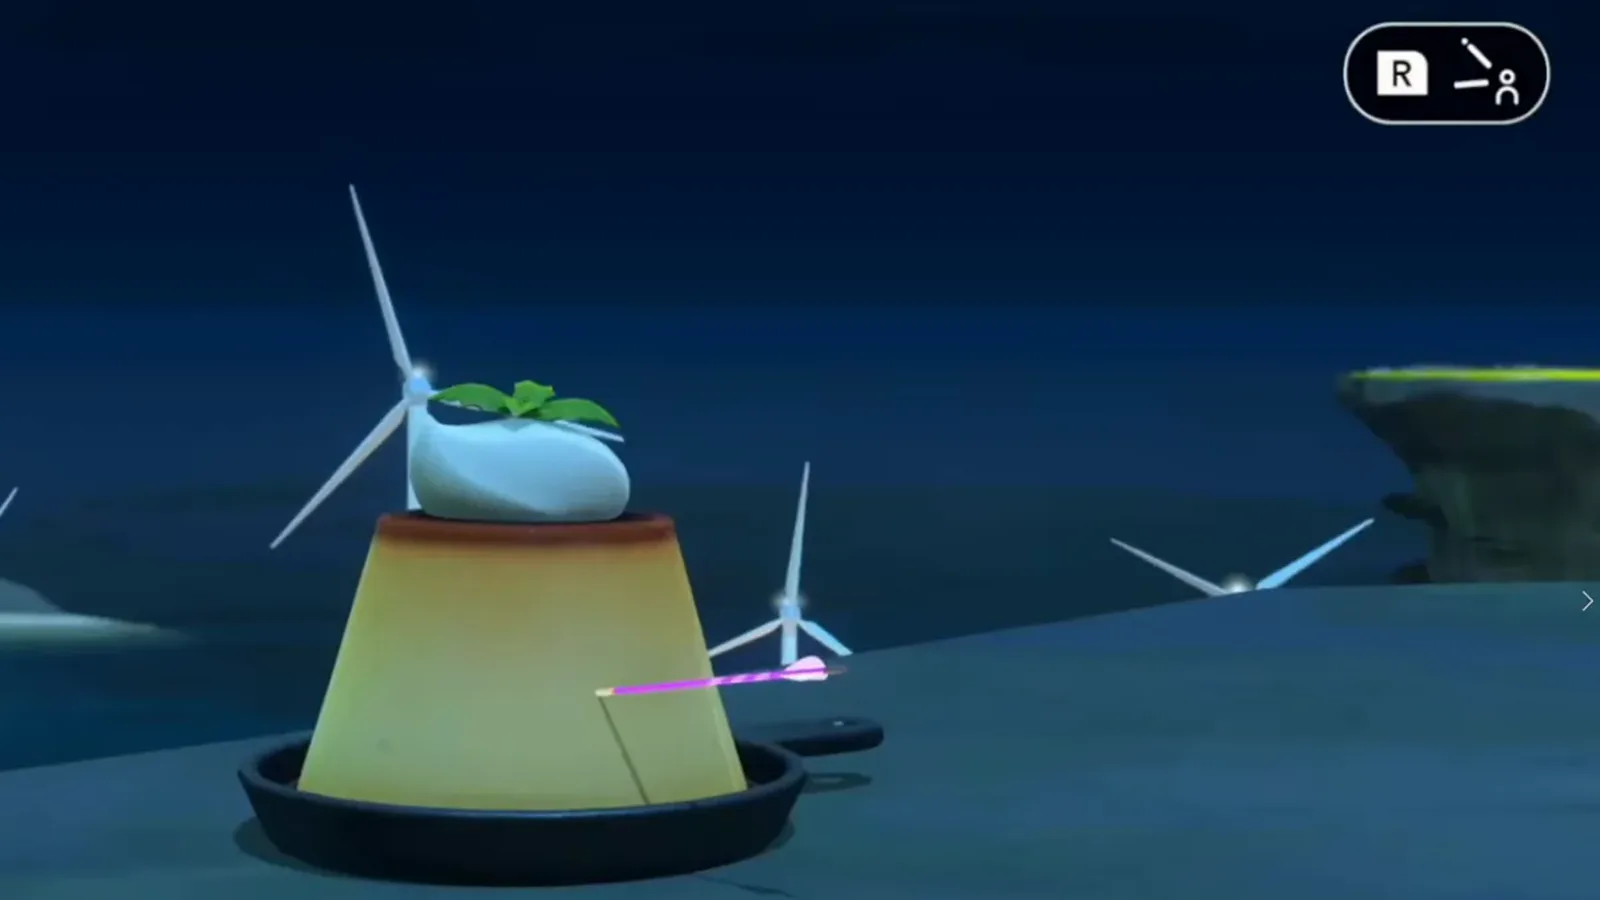
The Stage 4 pudding, stuck at night beside the turbines — watch at 10:20.
11. Piñata — the cave ceiling line
This is the one that cost the creator the most time: a fixed 5 m/s wind from the right and a target buried in a cave at 40 m. The working landmark is the line where the rock curves along the cave ceiling — rest the bottom of the aim circle on that curve, then drop a touch and loose. Expect to miss a few times; the video does too.
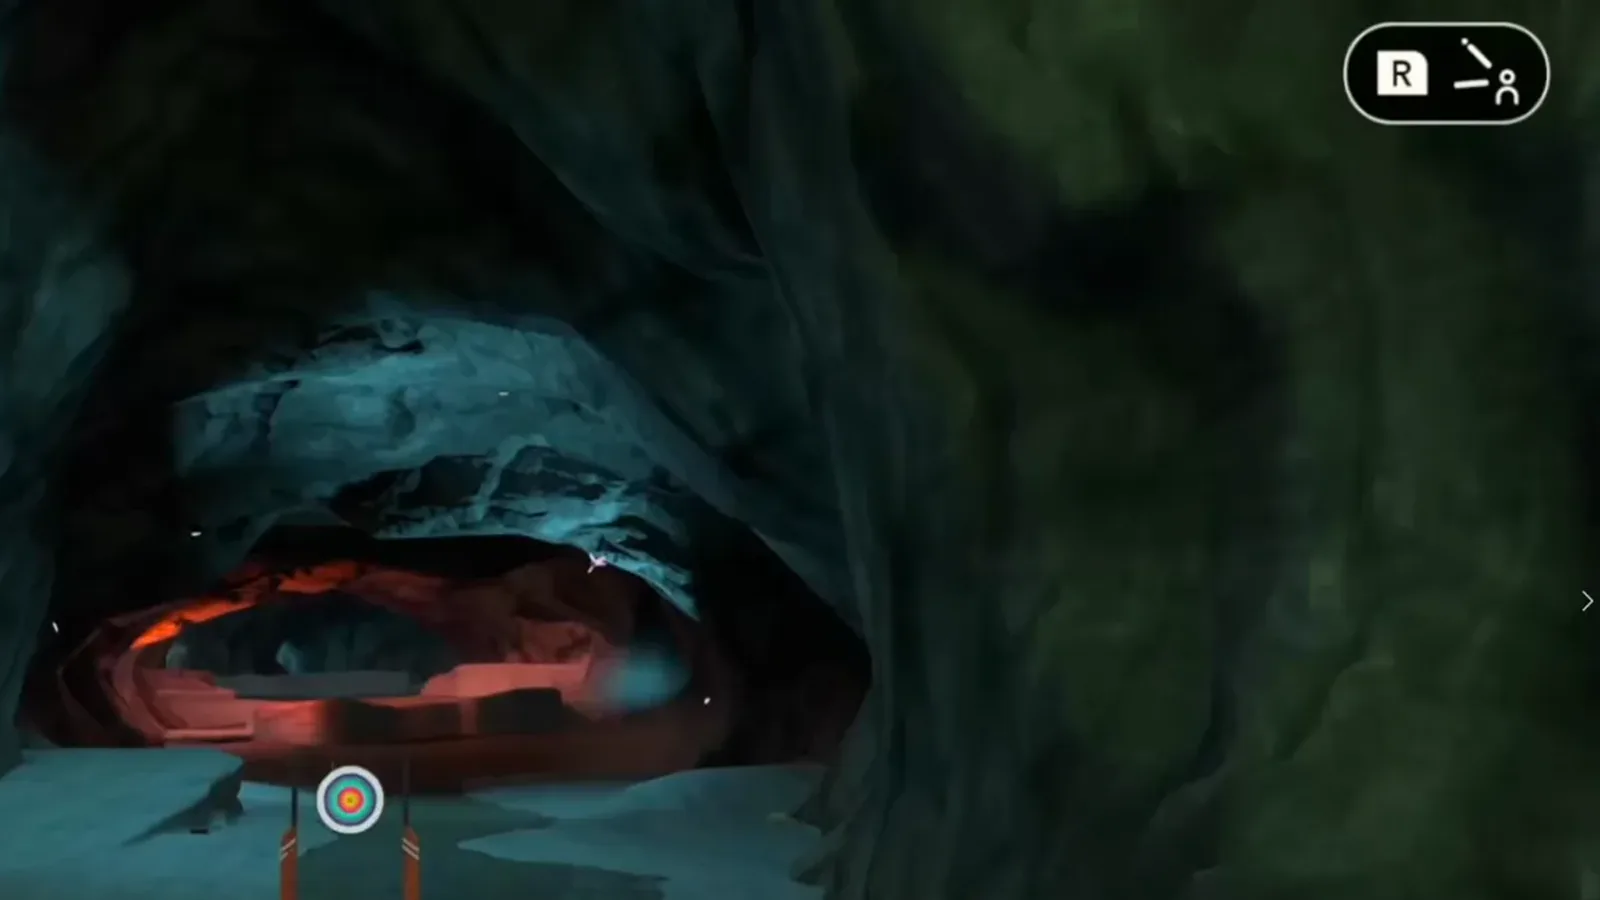
Bottom line on the ceiling curve, 40 m — watch at 12:25.
12. Toaster — bottom line on the toaster, fight the updraft
The clearest landmark of the twelve: get the bottom line of the aim circle in close contact with the toaster sitting in the lava field. The gauge shows a 5 m/s upward draft, so after seating the circle on the toaster, nudge against the drift — the video also uses the white line along the rock path as a secondary check. He calls this one relatively easy once you see it.
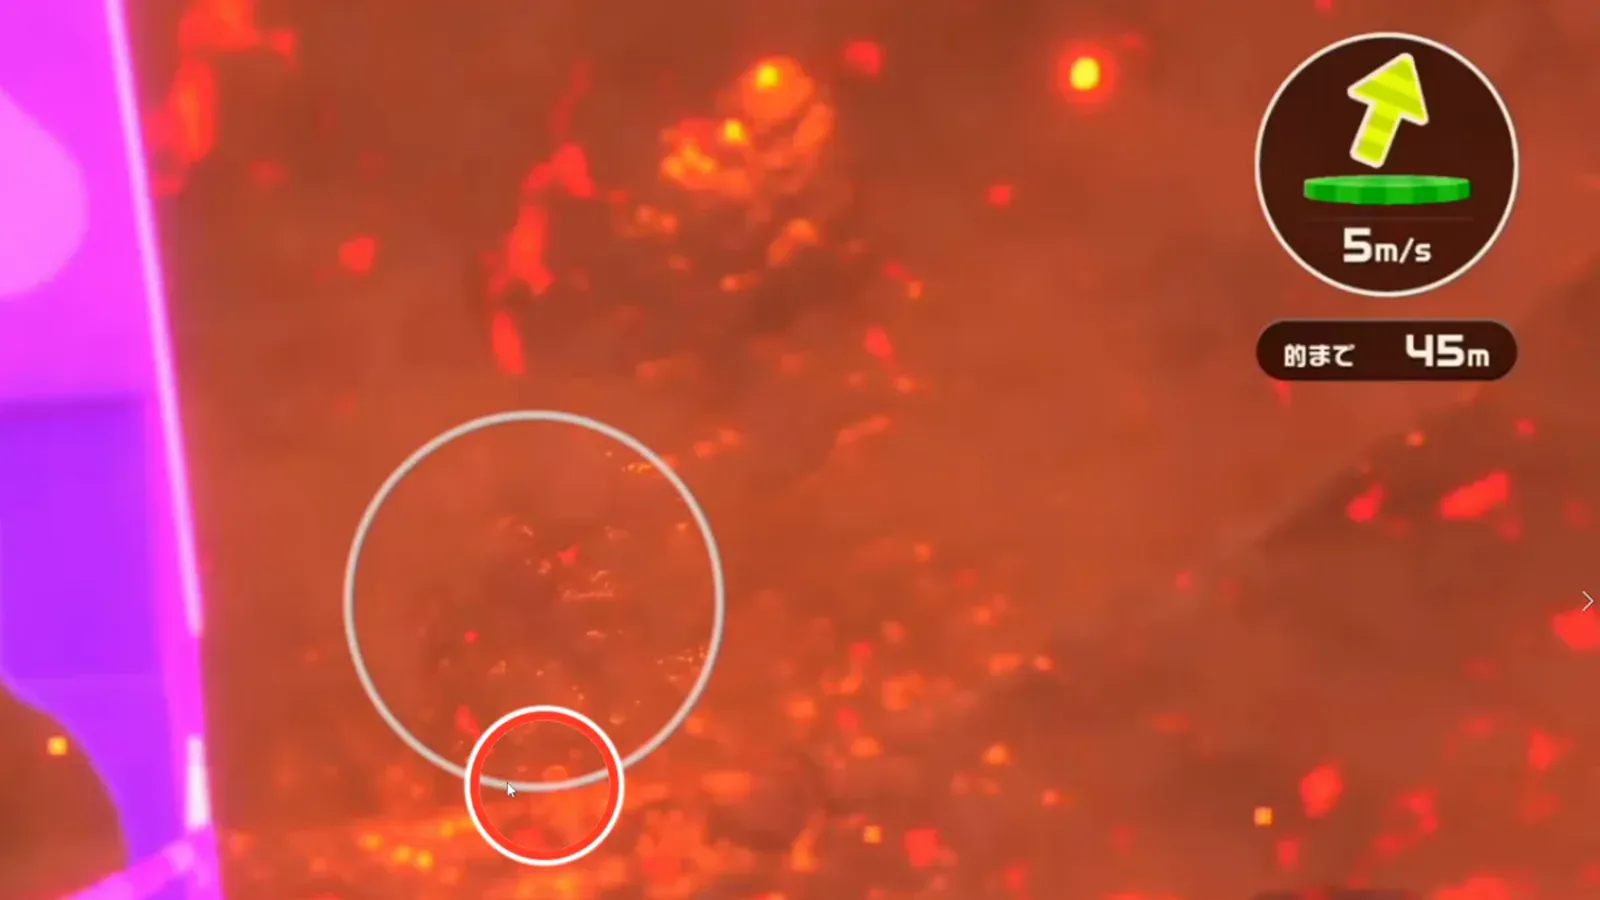
Red mark at the toaster contact point, 45 m, 5 m/s updraft — watch at 14:25.

【スイッチスポーツリゾート】アーチェリー隠し要素12個 全部の当て方!目印を覚えれば当たる
Related reading
- Archery guide — wind, controls and courses
- All sports list
- Island Crown — ranking system
- Wuhu Island exploration
- Bowling — 100-pin secret strike
Sources and last checked
Last checked: 2026-10-23
Related Articles
Collectibles
Switch Sports Resort Photo Spots: All 105 Sightseeing Locations (Prop Plane)
Where to find all 105 Prop Plane sightseeing photo spots in Switch Sports Resort: how spot cards, map pins and floating camera markers work, region by region.
Sports
100-Pin Bowling Guide — Switch Sports Resort Secret Strike & Tips
How 100-Pin Bowling works in Switch Sports Resort: day-one availability, rules on the extra-wide lane, the Secret Strike edge trick, and what stays unverified.
Sports
Volleyball Tips — How to Win Matches in Switch Sports Resort
Win Volleyball matches in Switch Sports Resort: score five points, chain receive-set-spike timing to power up spikes, time your blocks, and drill Bump to the Beat.
Was this helpful?
Thanks for the feedback!